Uploading Auxiliary Files through Web Interface
The following procedure describes how to upload Auxiliary files through the Web interface.
|
●
|
When uploading an ini file through the Auxiliary Files page, only parameter settings specified in the ini file are applied to the device; all other parameters remain at their current settings. This is known as an incremental ini file upload. |
|
●
|
If you upload an ini file containing Auxiliary file(s), the Auxiliary files specified in the file overwrite the Auxiliary files currently installed on the device. |
|
●
|
For the User Information file, use the Auxiliary Files page only for backward compatibility (old file format). If backward compatibility is not needed, upload the file or configure users in the SBC User Information table for SBC users (see Configuring SBC User Information Table through Web Interface). |
|
➢
|
To upload Auxiliary files through Web interface: |
|
1.
|
Open the Auxiliary Files page: |
|
●
|
Toolbar: From the Actions drop-down menu, choose Auxiliary Files. |
|
●
|
Navigation tree: Setup menu > Administration tab > Maintenance folder > Auxiliary Files. |
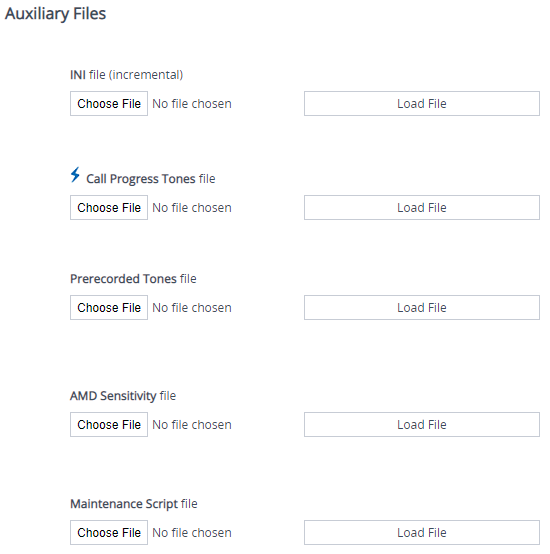
The above figure is used only as an example; some Auxiliary files may not be supported by your device.
|
2.
|
Click the Browse or Choose File button (depending on browser) corresponding to the Auxiliary file type that you want to upload, navigate to the folder in which the file is located, and then click Open; the name of the file appears next to the Browse button. |
|
3.
|
Click the corresponding Load File button. |
|
4.
|
Repeat steps 2 through 3 for each file you want to upload. |
|
5.
|
If you uploaded a file that requires a device restart (e.g., Call Progress Tones file), the Restart button on the toolbar appears with a red border, which you need to click to restart the device with a save-to-flash for your settings to take effect. If you uploaded a file that doesn't need a device restart, only the Save button on the toolbar appears with a red border, which you need to click for your settings to take effect. |